Connect VARCO 3D to Codex or Claude with One Prompt
2026-07-14 · tutorial
You do not need to manually configure every MCP setting.
Just give the official setup guide to your Codex app or Claude app and ask it to handle the setup for you.
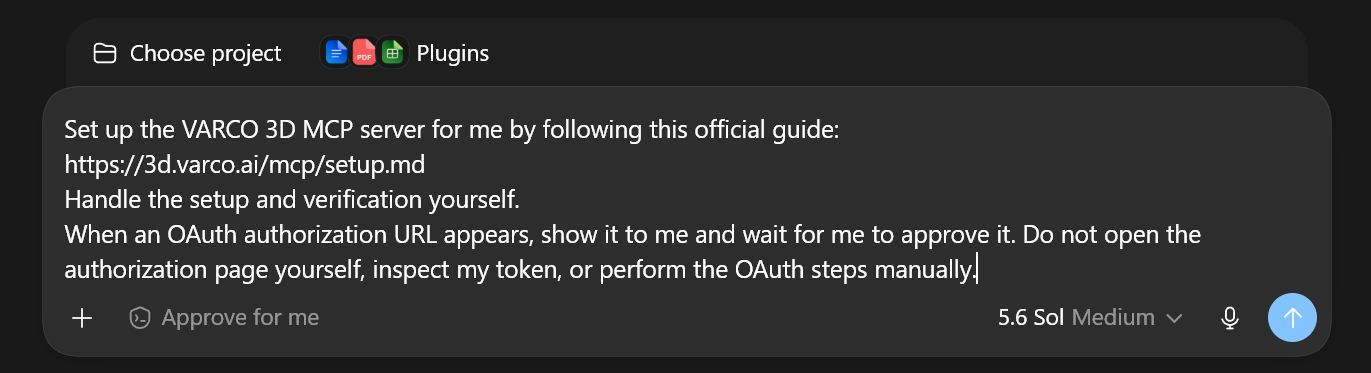
Copy and Paste This Prompt
Set up the VARCO 3D MCP server for me by following this official guide:

https://3d.varco.ai/mcp/setup.md

Handle the setup and verification yourself.

When an OAuth authorization URL appears, show it to me and wait for me to approve it. Do not open the authorization page yourself, inspect my token, or perform the OAuth steps manually.
That is it.
Paste the prompt into Codex or Claude and let the agent follow the official instructions.
Before You Start
There are only two important prerequisites.
1. Sign In to VARCO 3D
Open VARCO 3D in your browser and sign in to your account.
2. Open at Least One Custom Workflow
At least one VARCO Custom Workflow must be open in your browser.
The MCP server sends commands to a workflow that is currently open. If no workflow is open, the agent may authenticate successfully but will not have a workflow to control.
For your first test, starting with a new, empty project is recommended. It makes it easy to see exactly what the AI creates and avoids modifying an existing workflow.
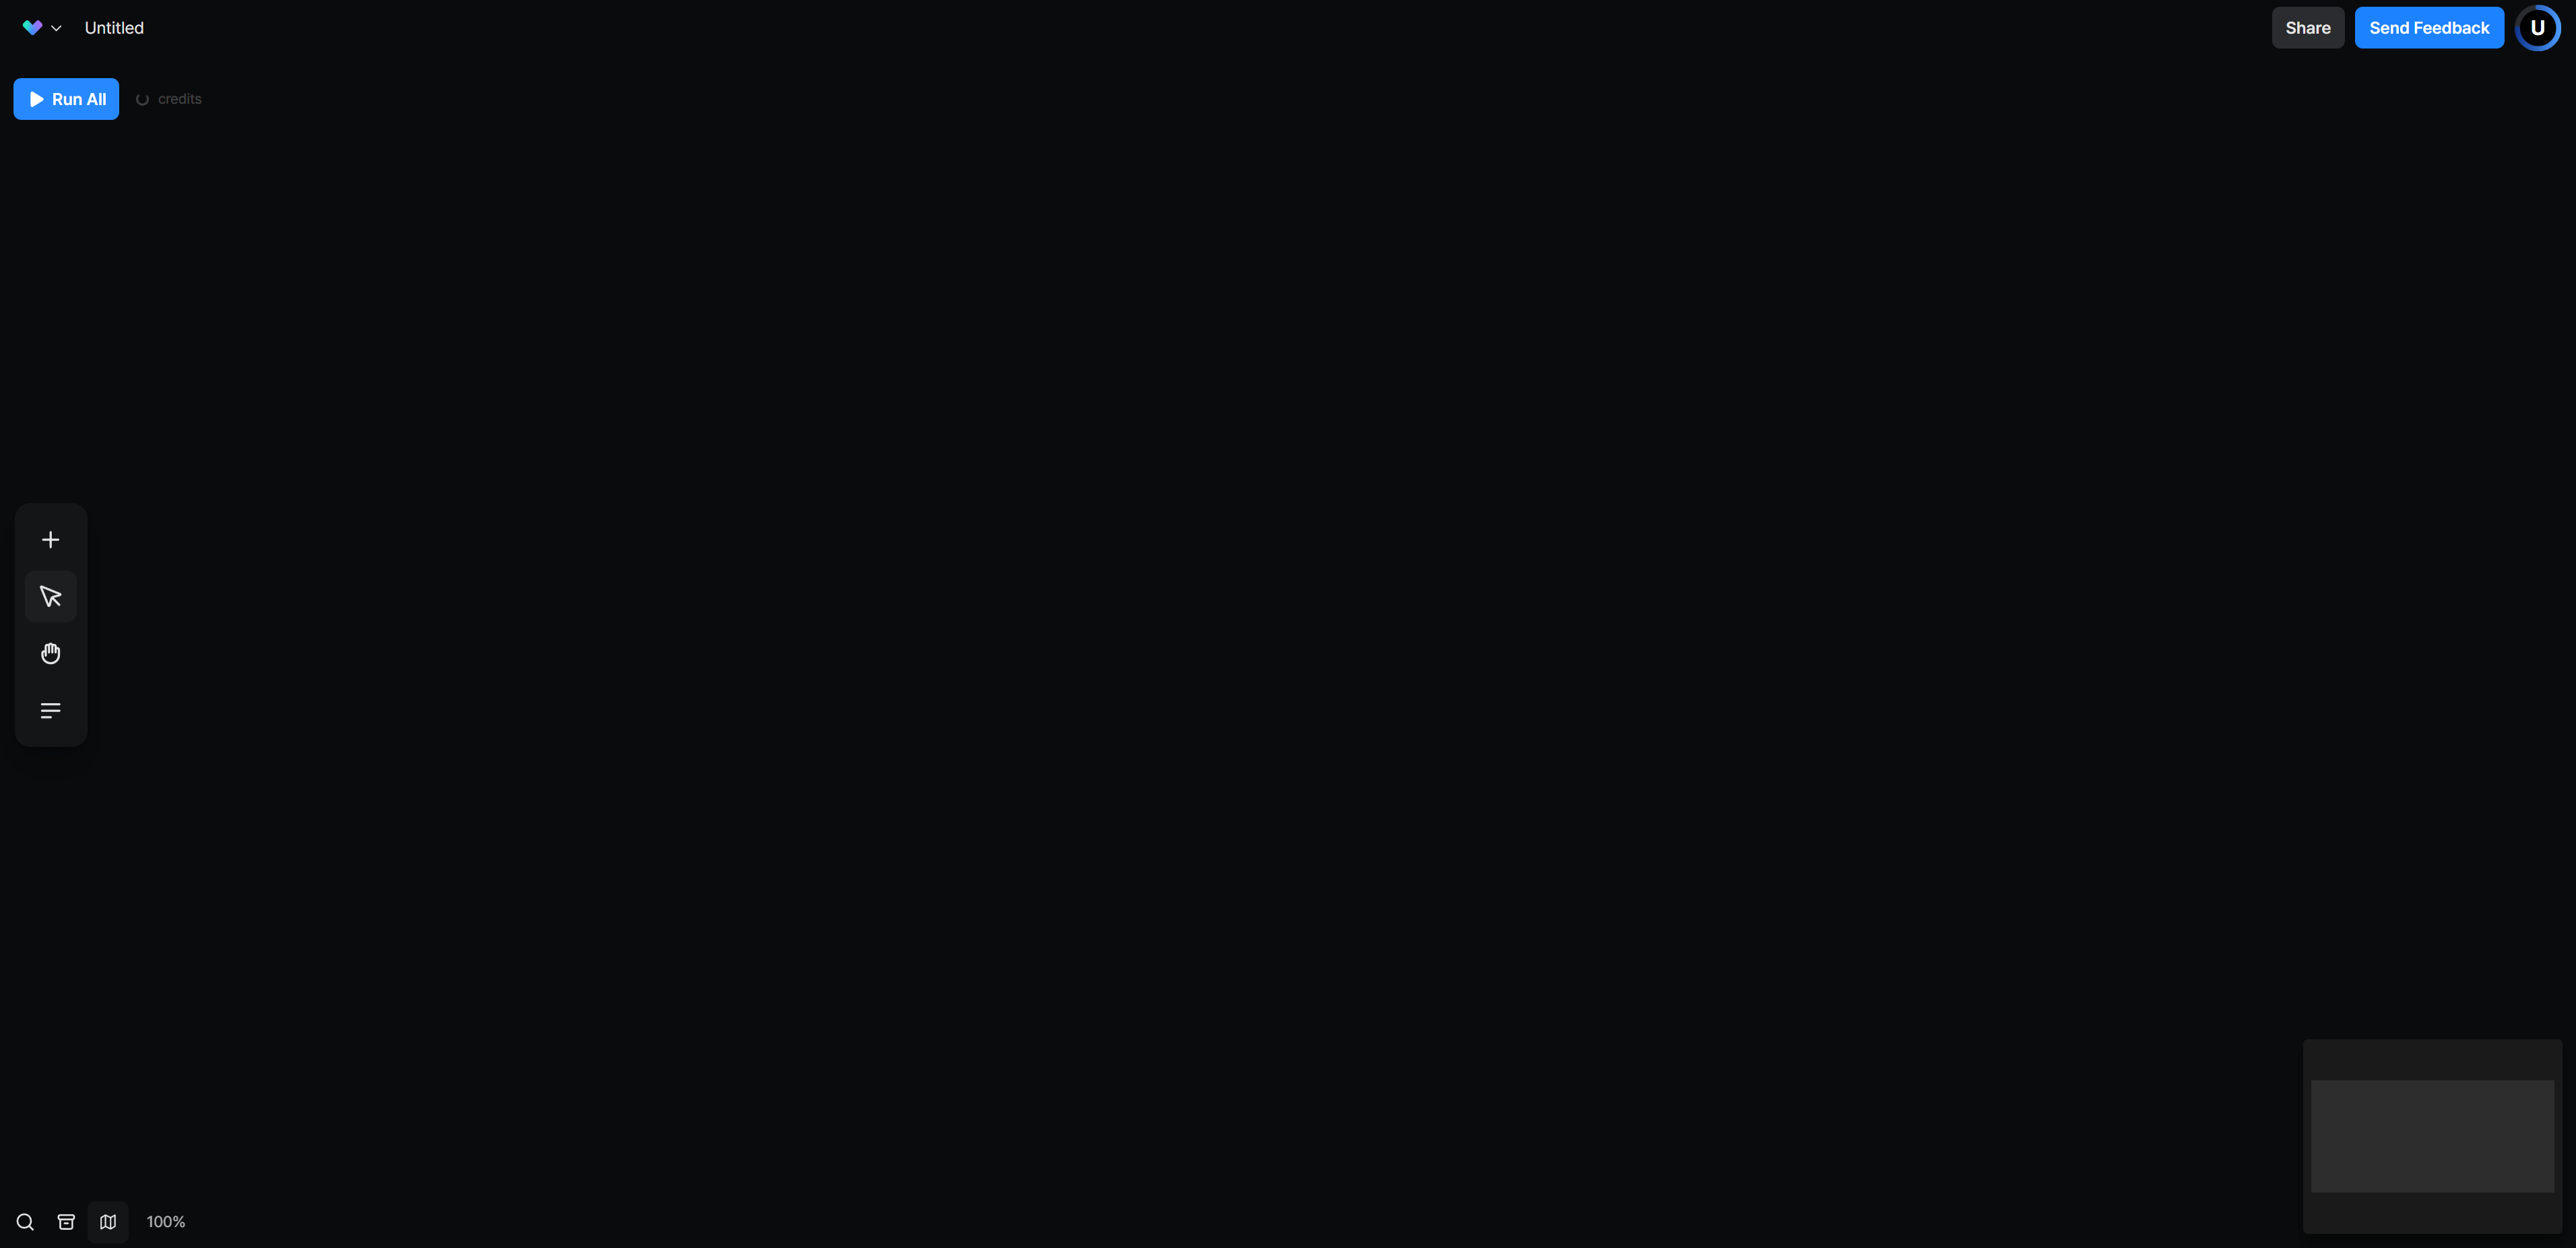
Keep the workflow tab open while using Codex or Claude.
Approve the Login
During setup, the agent should display a temporary VARCO 3D authorization link.
Open that link yourself and approve access.
The terminal or agent should then confirm that the MCP server has been authenticated successfully.
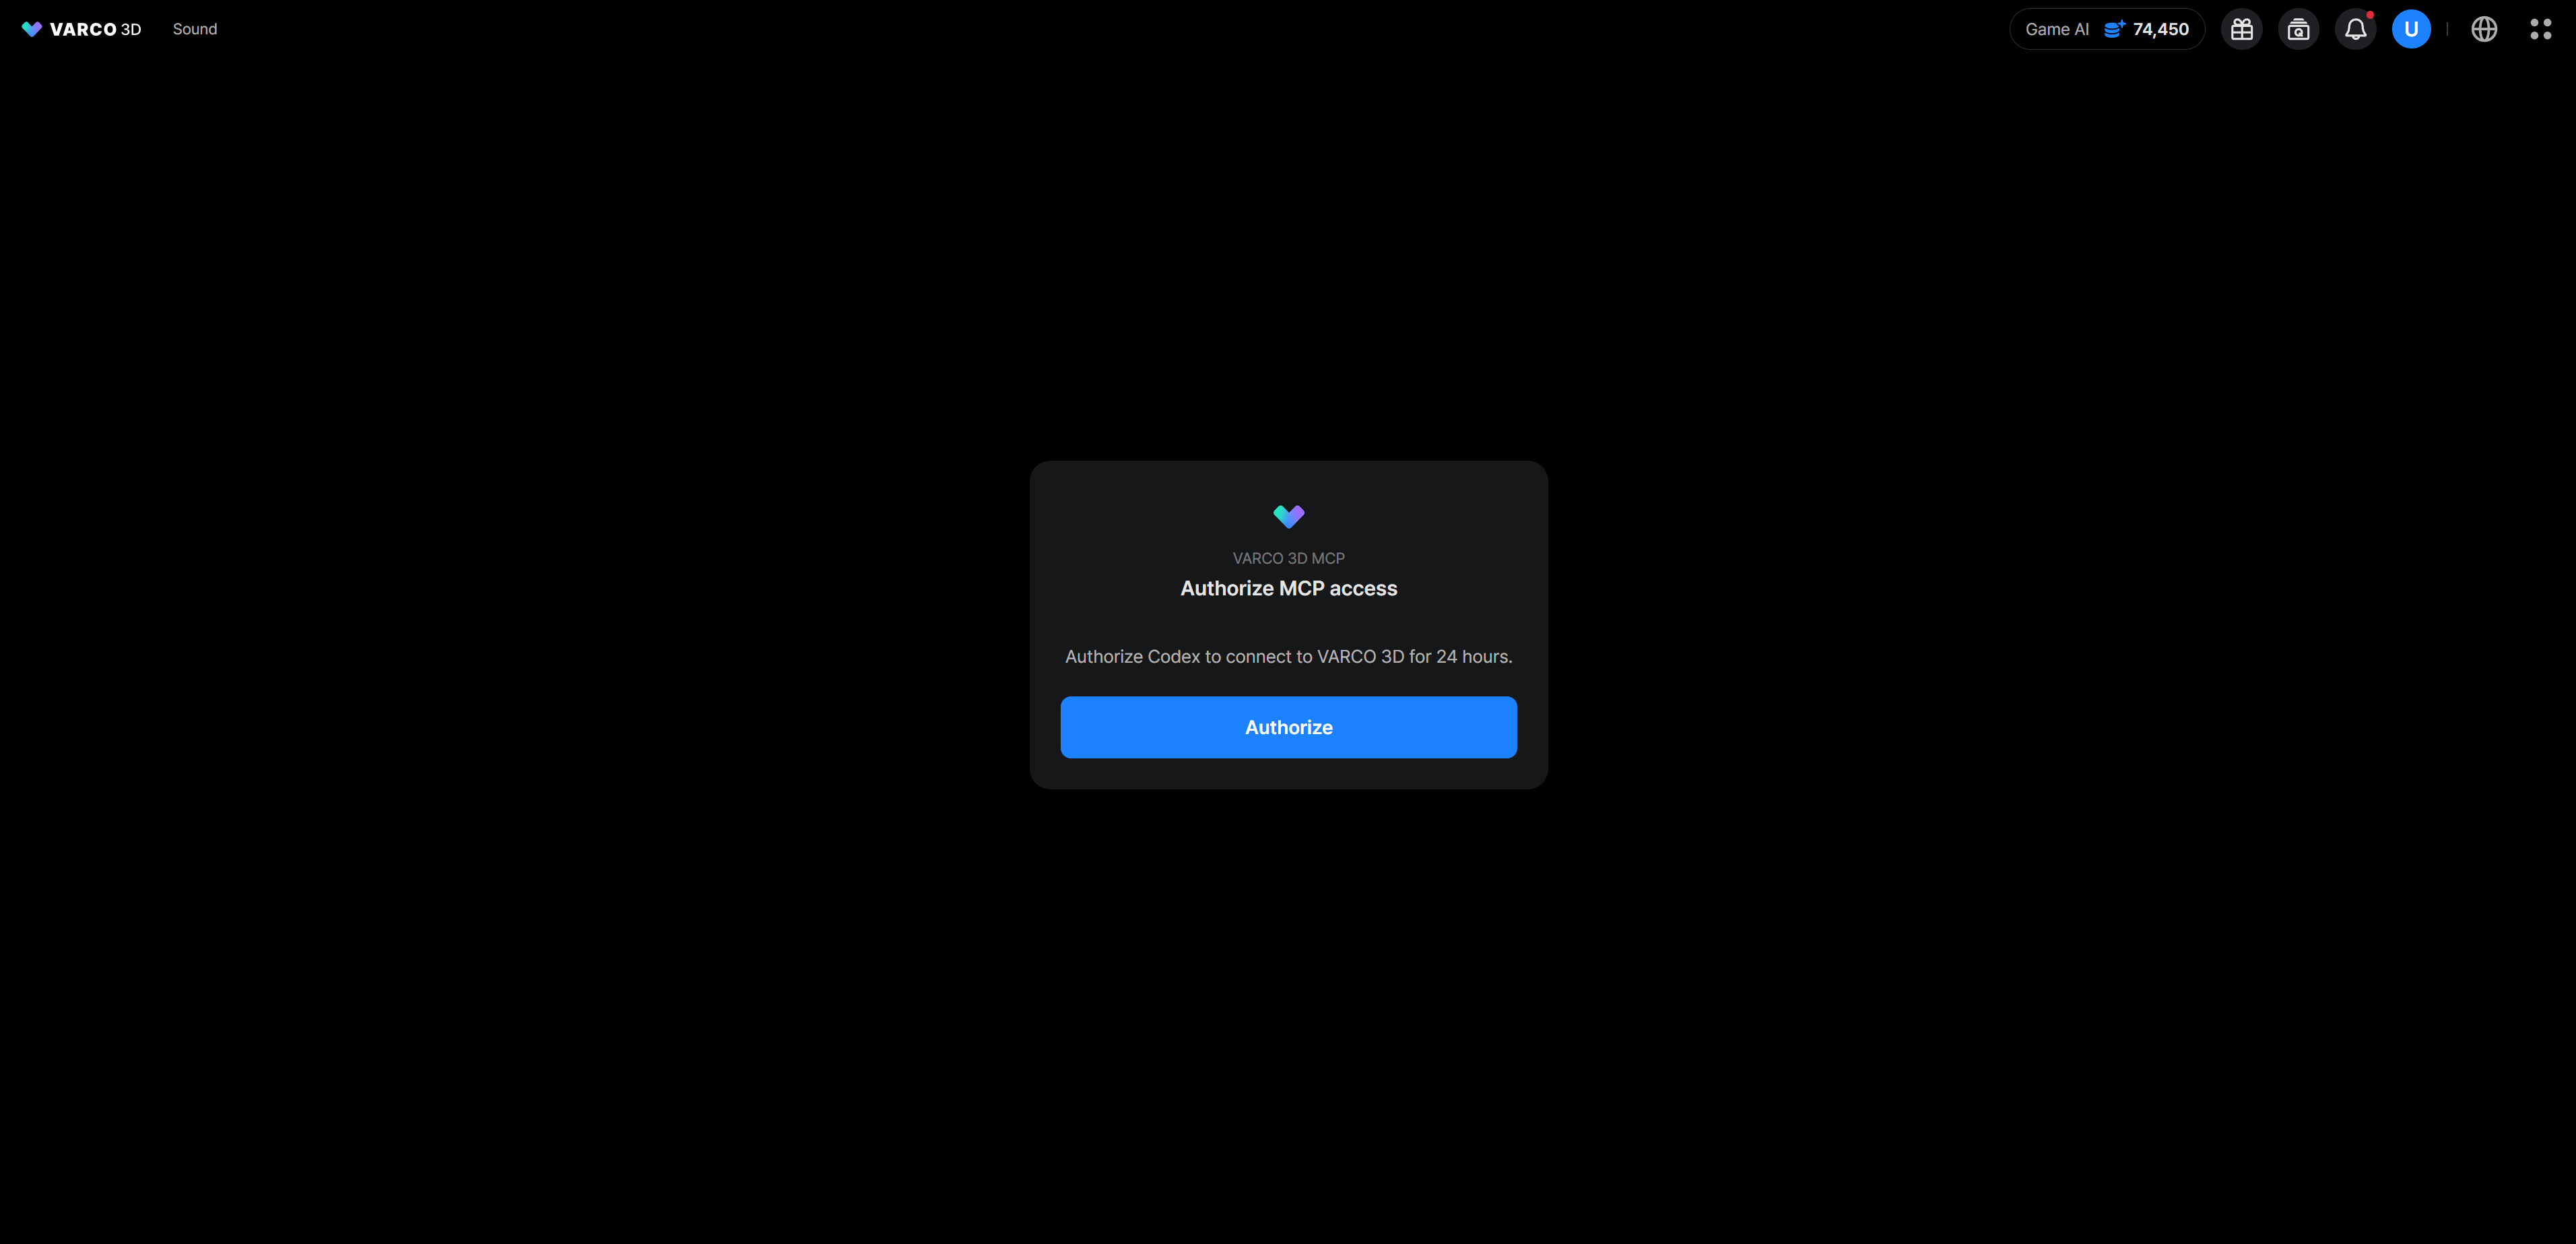
Do not share or publish the temporary authorization URL. It may contain short-lived OAuth information created specifically for your login session.
Test the Connection
After setup, restart the app or open a new conversation so it can discover the newly connected MCP tools.
Then try this simple prompt:
Create one TextInput node in my currently open VARCO workflow. Do not modify anything else.
If everything is connected correctly, a new TextInput node should appear in the open workflow.
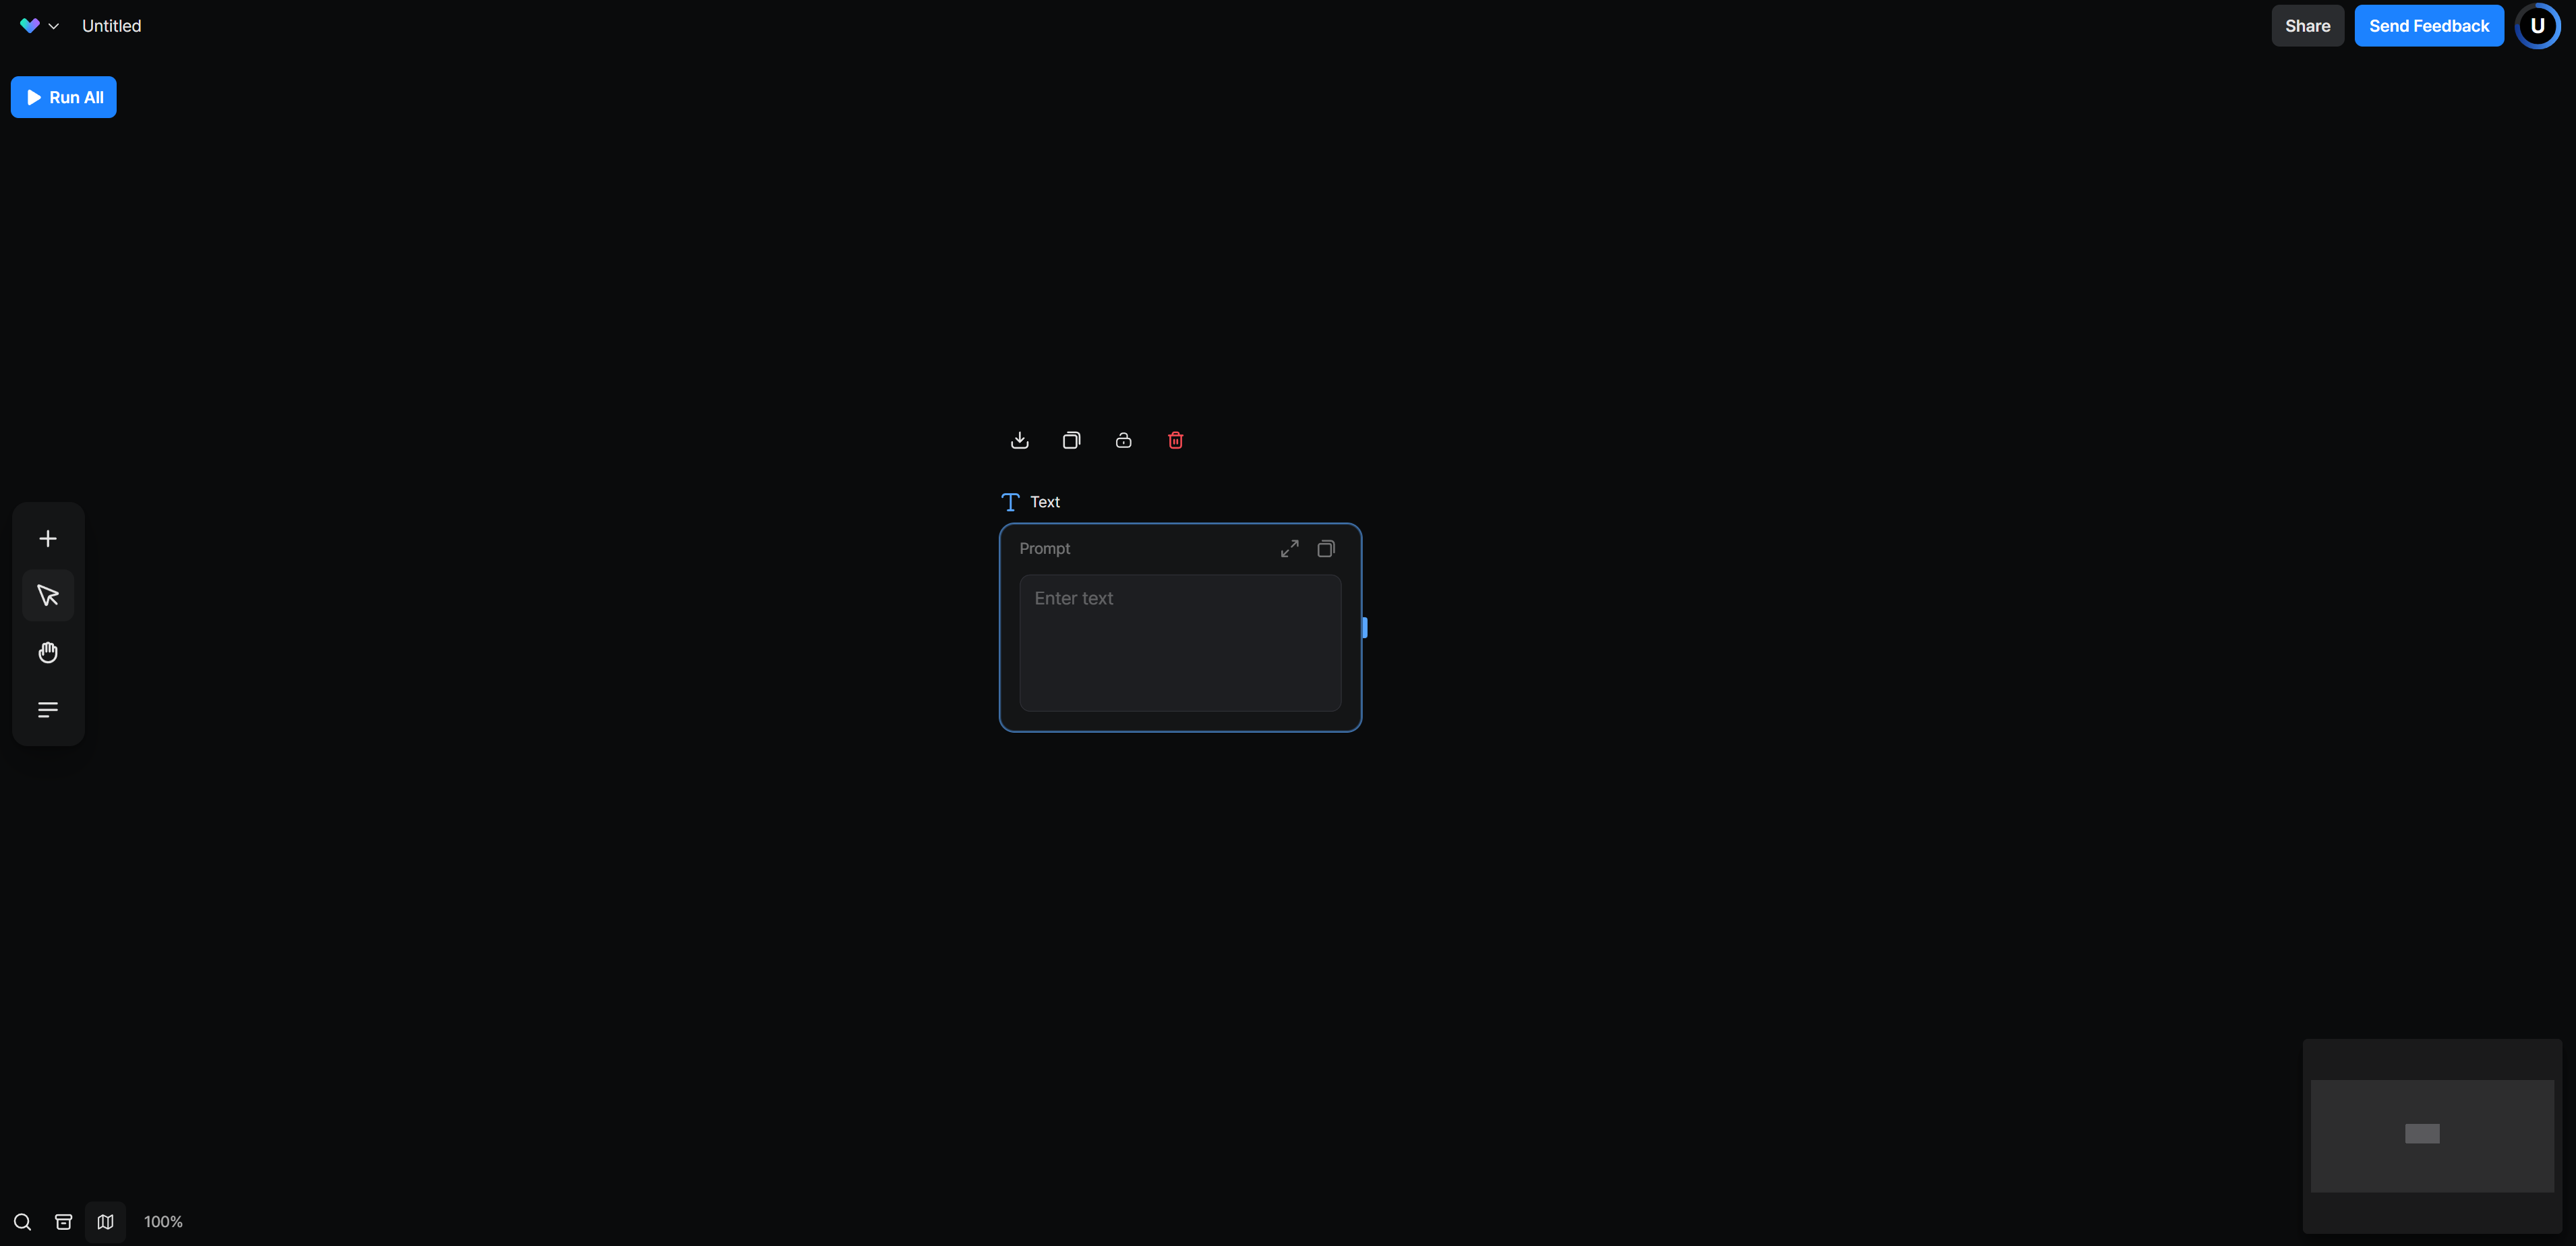
You can also ask:
Inspect my currently open VARCO workflow and list the available node types. Do not modify anything.
Important Notes
Keep a Workflow Open
You must be:
- Signed in to VARCO 3D.
- Viewing at least one Custom Workflow in your browser.
- Keeping that workflow tab open while the agent is working.
An empty workflow in a new project is the safest place to experiment.
Be Specific When Multiple Workflows Are Open
If multiple workflow editors are open, the agent may need to determine which one you want to control.
Either close the workflows you are not using or say:
List my open VARCO workflow sessions and ask me which one to use. Do not modify anything yet.
Let the MCP Client Handle OAuth
Do not ask the agent to call the MCP endpoint directly with curl, fetch, or another HTTP tool.
Do not manually perform OAuth discovery, client registration, token exchange, or token storage.
Codex or Claude should manage those steps through its MCP client.
Open the Authorization Link Yourself
The agent should show you the authorization URL and wait.
You should open the link and approve access. The agent should not open the page, read the token, or copy your credentials.
Restart After Installation
If the setup succeeds but VARCO tools are unavailable in the current conversation:
- Restart Codex or Claude.
- Open a new conversation.
- Keep the VARCO workflow open.
- Try the test prompt again.
Review Before Running a Workflow
Creating or moving nodes is different from running a workflow.
Some workflow operations may consume VARCO credits. Use prompts such as:
Create and connect the nodes, but do not run the workflow yet.
Review the workflow first, then explicitly request execution when you are ready.
The Short Version
- Sign in to VARCO 3D.
- Open a new or existing Custom Workflow.
- Paste the setup prompt into Codex or Claude.
- Open and approve the OAuth link yourself.
- Restart the AI app or open a new conversation.
- Ask it to create a node.
The main idea is simple:
Just throw the official setup instructions into your Codex app or Claude app and let the agent do the setup for you.